
포스트 작성 준비가 완료 되었습니다.
이제 포스트를 작성하고 내용을 DB에 저장하겠습니다.
본 블로그에서 사용하는 Framework(CodeIgniter 3)은 MVC(모델 뷰 콘트롤러) 디자인 패턴을 사용합니다.
MVC 패턴은 화면을 구성하는 소스(View)와 기능 구현 소스(Controller) 및 데이터 처리 관련 소스(Model)를 구분하여, 각 부분의 역할에 맞춰 필요한 코드를 따로 작성하고 관리할 수 있어 개발 효율성 및 유지 보수 면에서 이점을 가져다줍니다.
각 부분은 아래와 같은 역할들을 합니다.
- Model(모델) : 데이터와 비즈니스 로직을 관리합니다. (DB 처리)
- View(뷰) : 레이아웃과 화면을 처리합니다. (화면 처리)
- Controller(컨트롤러) : 명령을 모델과 뷰 부분으로 라우팅합니다. (기능 정의 및 실행)
포스트 작성을 위해 포스트 저장 기능을 구현합니다.
포스트 저장 기능 구현
MVC 패턴에 맞춰 모델, 뷰, 컨트롤러에 필요한 내용들을 추가 및 수정합니다.
STEP 1) 포스트 내용을 DB에 저장할 수 있도록 컨트롤러에 함수를 추가합니다.
-
~/myblog/application/controllers/Home.php
|
1
2
3
4
5
6
7
8
9
10
11
12
13
14
15
16
17
18
19
20
21
22
23
24
25
26
27
28
29
30
31
32
33
34
35
36
37
38
39
40
41
42
43
44
45
46
47
48
49
50
51
52
53
|
<?
...(생략)
// 작성한 포스트를 저장합니다.
public function save()
{
$title = $this->input->post_get('title');
$content = $this->input->post_get('content');
$reg_date = date("Y-m-d H:i:s");
// validate input
$data = array(
'title' => $title,
'content' => $content,
'reg_date' => $reg_date
);
$this->form_validation->set_rules('title', 'Title', 'required');
$this->form_validation->set_rules('content', 'Content', 'required');
if ($this->form_validation->run() == FALSE) {
$this->session->set_flashdata('message', '
<script>
$(function(){
alert("누락된 항목이 있습니다.");
});
</script>
');
$this->load->view('home',$data);
} else {
// 포스트 내용을 model을 통해 db에 추가합니다.
$this->home->insert_post('posts', $data);
// 저장된 포스트의 idx를 가져옵니다.
$idx = $this->home->get_idx('posts',$reg_date);
$this->session->set_flashdata('message', '
<script>
$(function(){
alert("저장이 완료되었습니다.");
});
</script>
');
$this->detail($idx);
}
}
// 포스트의 상세 내용을 보여줍니다.
public function detail($idx)
{
$post_detail = $this->home->get_detail_post($idx);
$data = array(
'title' => $post_detail['title'],
'content' => $post_detail['content'],
'reg_date' => $post_detail['reg_date'],
);
$this->load->view('post_detail', $data);
}
|
cs |
(!) 컨트롤러에 작성한 함수의 이름은 통상 hostname(myblog.kr)뒤에 붙는 path가 됩니다.
STEP 2) 컨트롤러의 함수들이 주소창의 path로 잘 표기되도록 코드이그나이터 환경설정 파일의 내용을 수정합니다.
-
~/myblog/application/config/config.php 의 'base_url' 설정값 입력
|
1
2
3
4
|
<?
...(생략)
$config['base_url'] = 'http://www.myblog.kr';
(생략)...
|
cs |
STEP 3) 블로그 내용을 DB에 입력(추가)하고 불러올 수 있도록 모델에 함수를 추가합니다.
-
~/myblog/application/models/Home_model.php
|
1
2
3
4
5
6
7
8
9
10
11
12
13
14
15
16
17
18
|
<?
...(생략)
// 작성한 포스트 내용을 테이블에 추가합니다.
public function insert_post($table, $data)
{
$this->db->insert($table, $data);
}
//포스트의 idx를 가져옵니다.
public function get_idx($table,$reg_date){
$post = $this->db->get_where($table,array('reg_date' => $reg_date))->result_array();
$idx = $post[0]['idx'];
return $idx;
}
//idx에 해당하는 포스트의 상세 데이터를 가져옵니다.
public function get_detail_post($idx)
{
return $this->db->get_where('posts', array('idx' => $idx))->row_array();
}
|
cs |
STEP 4) 뷰에서 포스트 작성 요소들을 <form> tag로 wrap 합니다.
-
~/myblog/application/views/home.php
|
1
2
3
4
5
6
7
8
9
10
11
12
13
14
15
16
17
18
19
20
21
22
23
24
25
26
27
28
29
30
|
<?php
defined('BASEPATH') OR exit('No direct script access allowed');
require_once($_SERVER['DOCUMENT_ROOT'].'/application/views/template/header.php');
require_once($_SERVER['DOCUMENT_ROOT'].'/application/views/template/head_nav.php');
?>
<!-- main content -->
<div class="col-sm-12 col-lg-10">
<?= $this->session->flashdata('message') ?>
<div class="pt-2 fs-5 fw-bold">
<span class="">포스트 작성</span>
</div>
<hr>
<form action="home/save" enctype="multipart/form-data" method="post" accept-charset="utf-8">
<!-- <span class="text-primary"><?= $result ?></span> -->
<div class="input-group mb-3">
<span class="input-group-text">제목</span>
<input type="text" class="form-control" aria-label="Sizing example input" aria-describedby="title" id="title" name="title" value="<?= $title ?>">
</div>
<div class="mb-3">
<textarea id="content" name="content" style="display:none;" value="<?= $content?>"></textarea>
</div>
<div>
<button type="submit" class="btn btn-outline-secondary">포스트 저장</button>
</div>
</form>
</div>
<!-- end of main content -->
<?
require_once($_SERVER['DOCUMENT_ROOT'].'/application/views/template/footer.php');
?>
|
cs |
STEP 5) 저장된 포스트 내용을 보여줄 뷰 파일을 생성하여 코드를 작성합니다.
-
~/myblog/application/views/post_detail.php 파일 생성
|
1
2
3
4
5
6
7
8
9
10
11
12
13
14
15
16
17
18
19
20
21
22
23
24
25
26
27
28
29
30
31
32
33
|
<?php
defined('BASEPATH') OR exit('No direct script access allowed');
require_once($_SERVER['DOCUMENT_ROOT'].'/application/views/template/header.php');
require_once($_SERVER['DOCUMENT_ROOT'].'/application/views/template/head_nav.php');
?>
<!-- main content -->
<div class="col-sm-12 col-lg-10" >
<?= $this->session->flashdata('message'); ?>
<div class="pt-2 fs-5 fw-bold">
<span class="">포스트 보기</span>
</div>
<hr>
<div class="d-flex align-items-center mx-0 p-0 text-truncate">
<span>
<?= $title ?>
</span>
</div>
<hr class="my-1">
<div class="d-flex align-items-center justify-content-between">
<small class="mr-2">
<i class="fas fa-user mr-1 text-info" style="font-size:.75rem;">등록일</i>
<?= ' : '.date('Y-m-d', strtotime($reg_date)) ?>
</small>
</div>
<hr class="shadow mt-1">
<div class="viewer-items m-0 p-0">
<?= $content ?>
</div>
</div>
<!-- end of main content -->
<?
require_once($_SERVER['DOCUMENT_ROOT'].'/application/views/template/footer.php');
?>
|
cs |
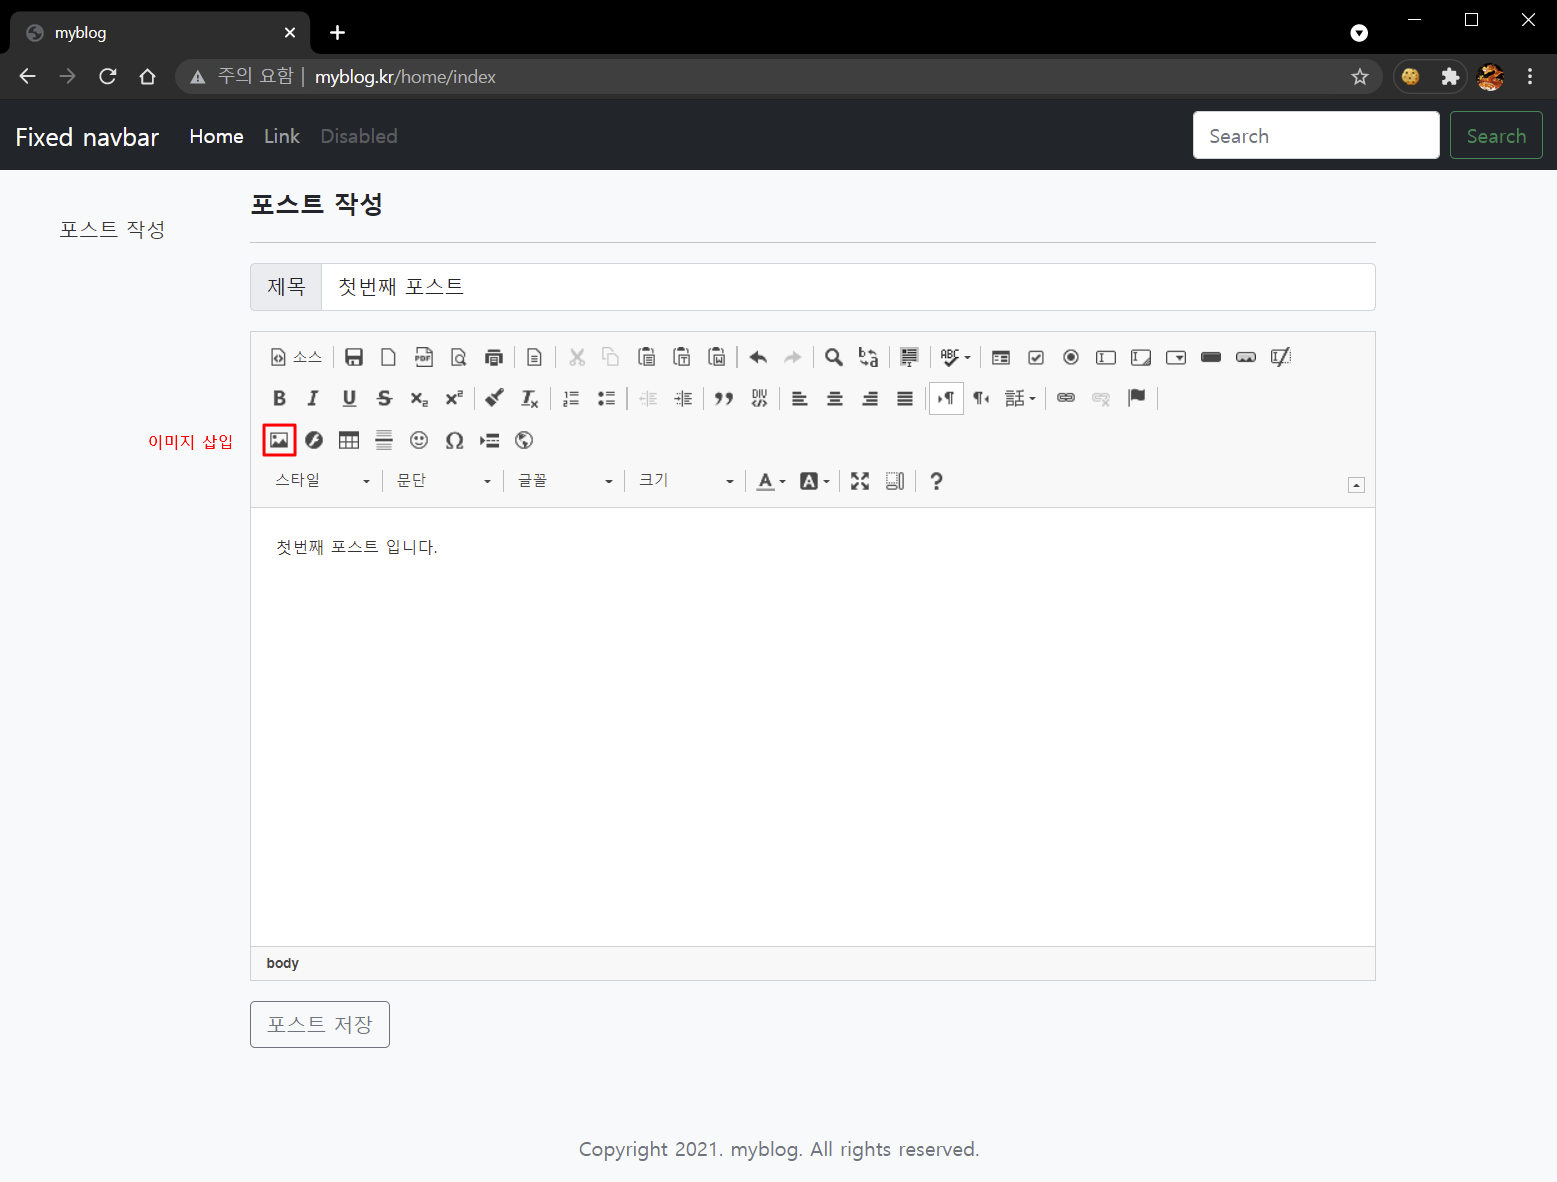
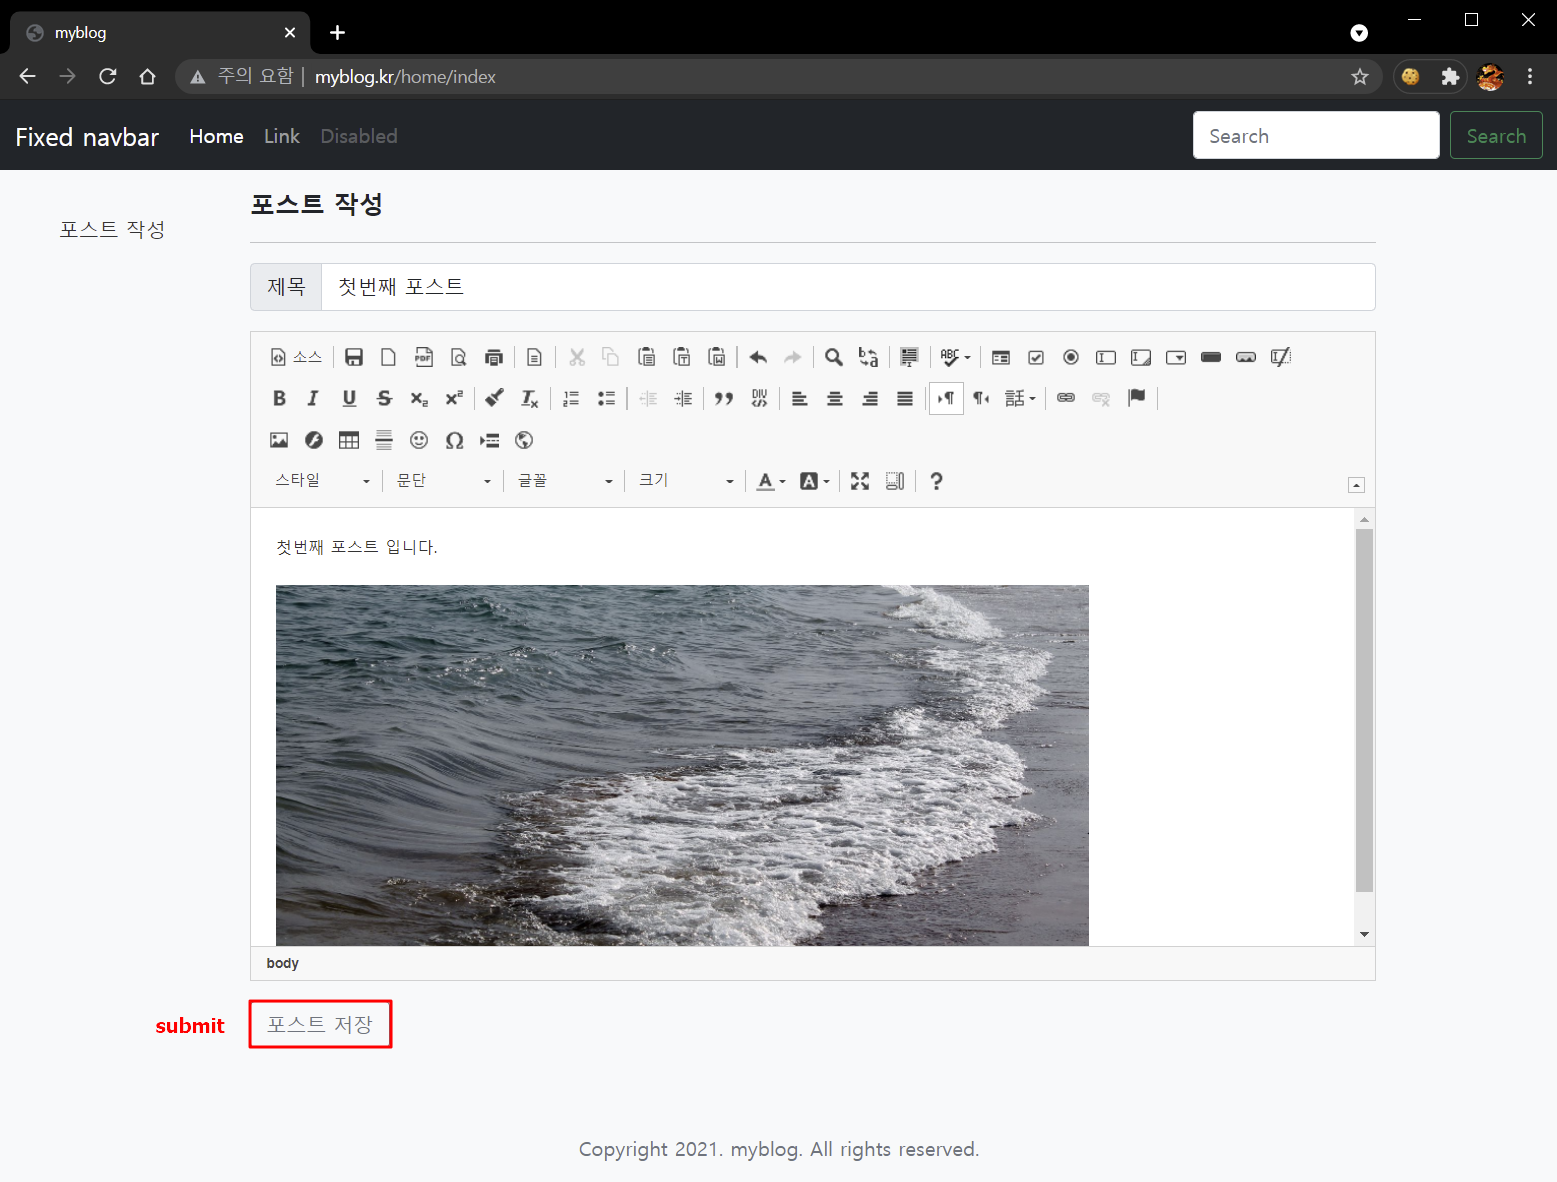
STEP 6) 포스트 작성 화면에서 내용을 작성하고 '포스트 저장' 버튼을 눌러 'submit' 합니다.
-
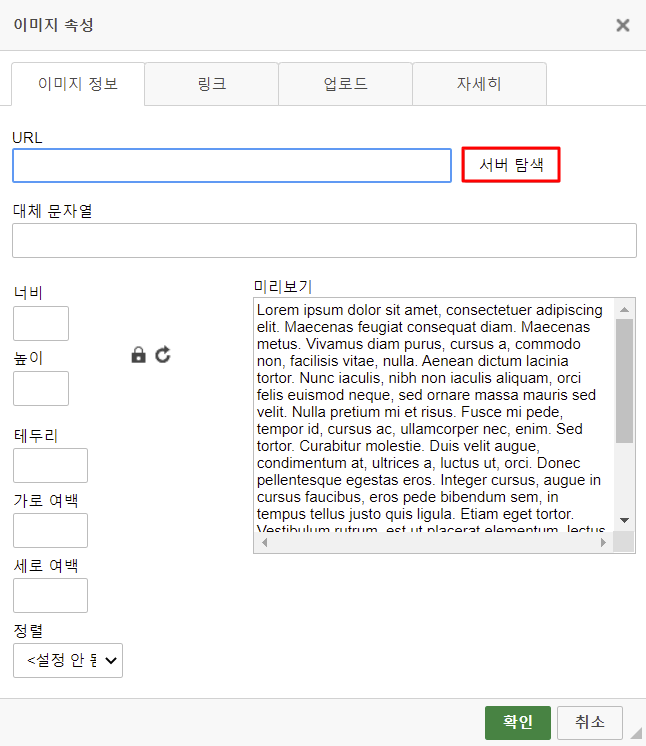
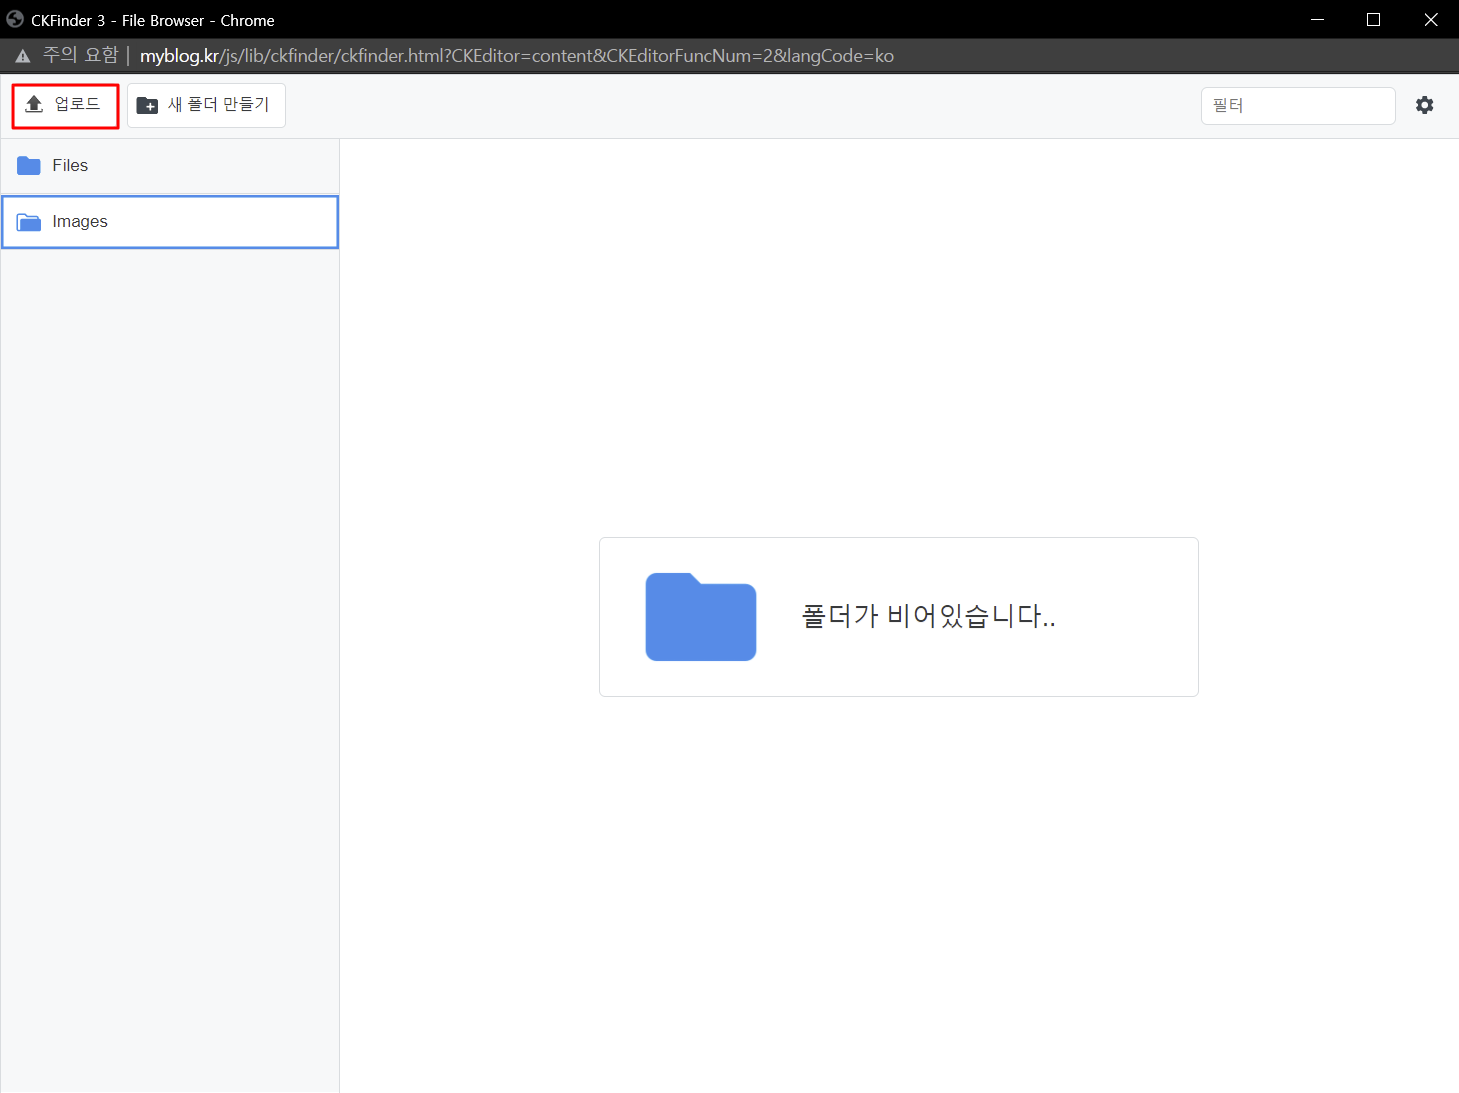
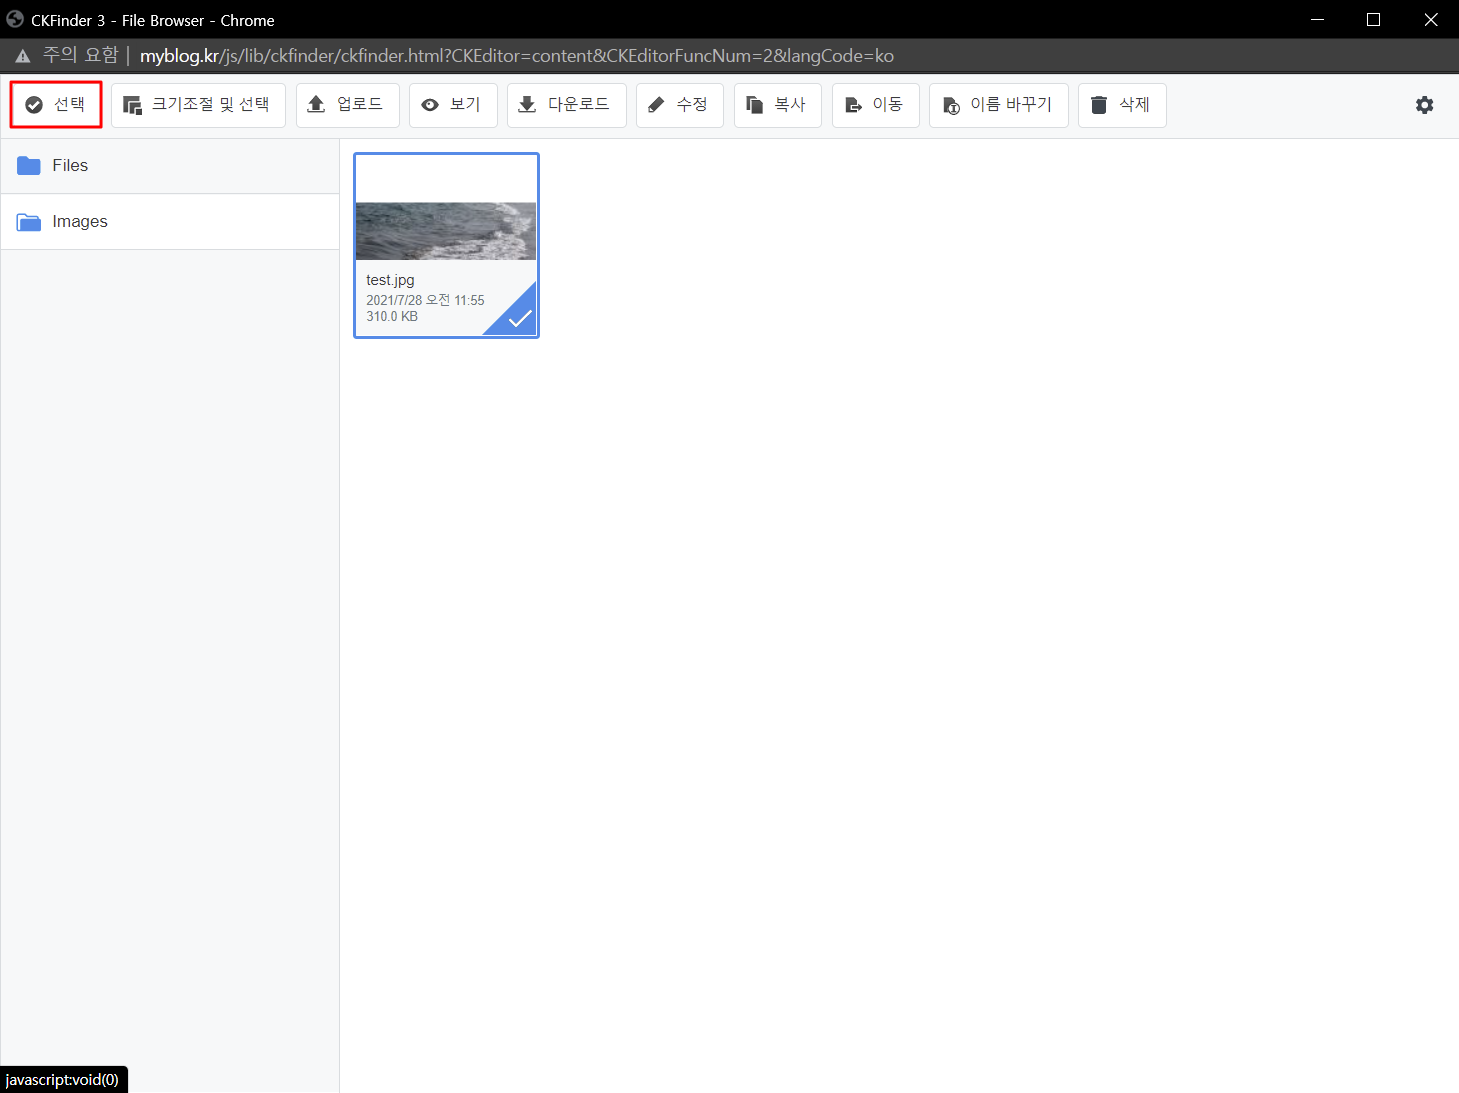
포스트 내용 작성
-
포스트 저장
-
저장된 포스트 내용 확인
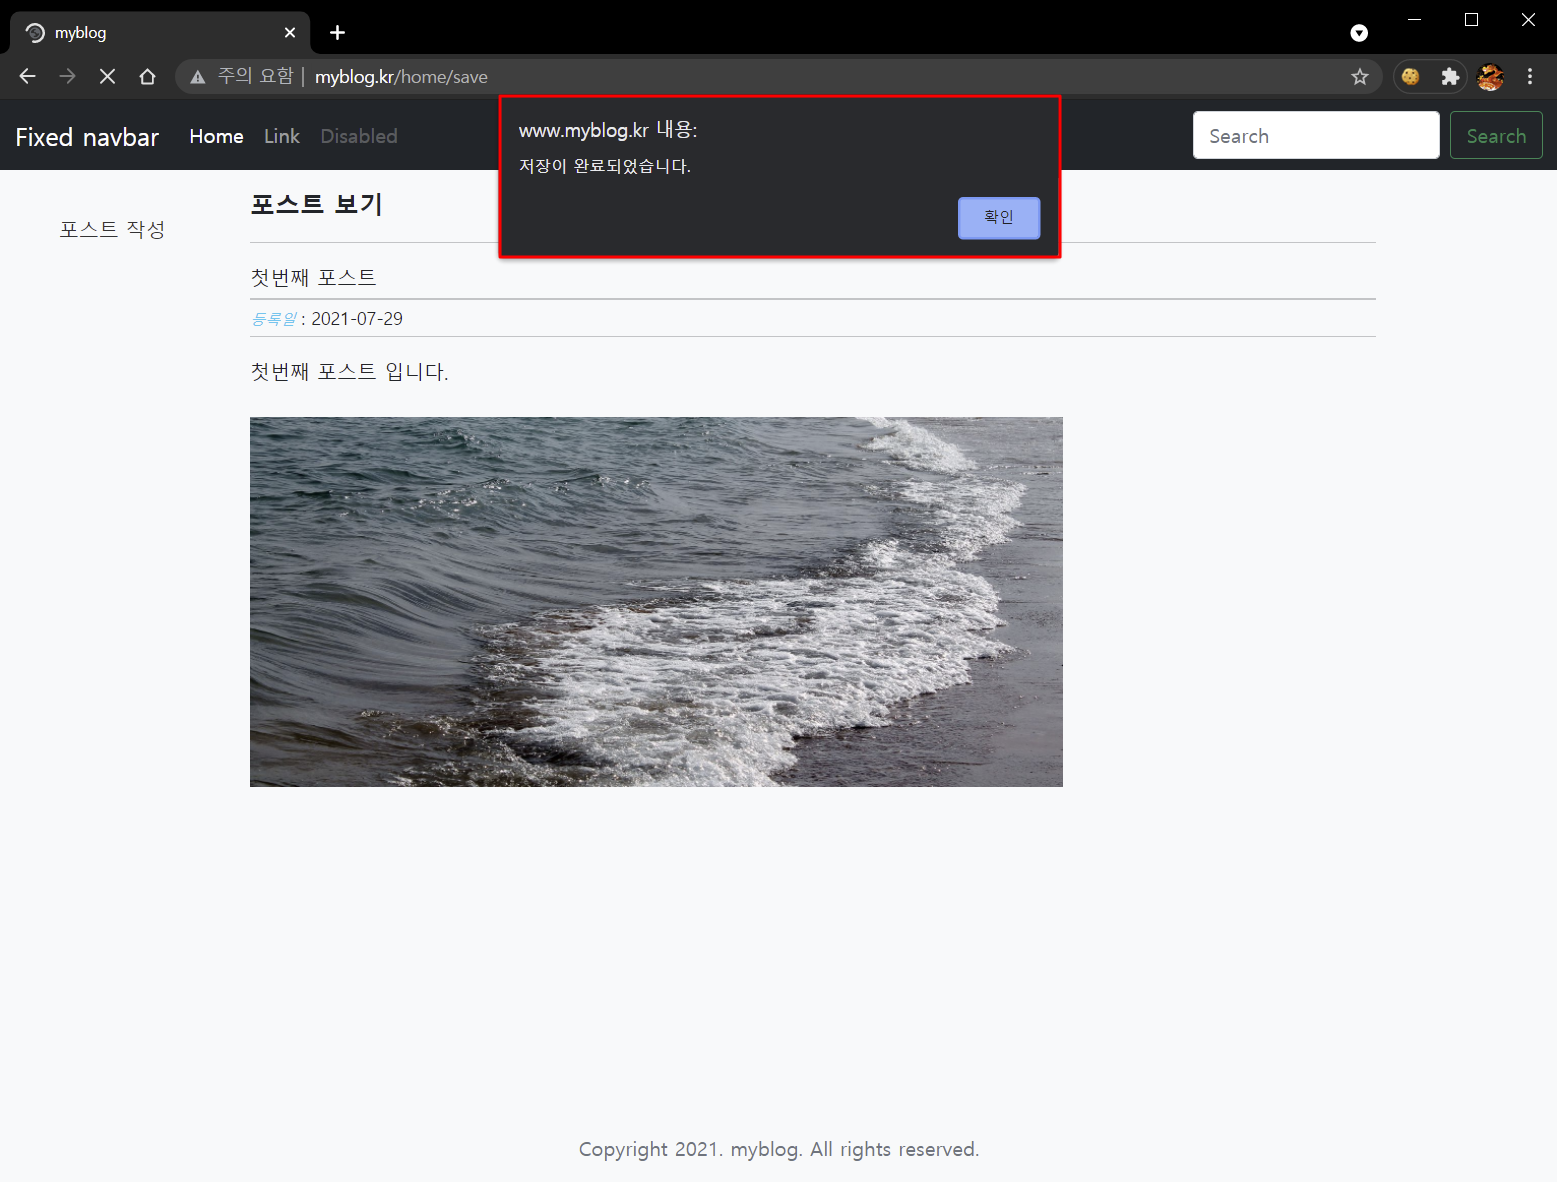
포스트를 작성하여 저장하였습니다.


관련 포스트 목록
- [Server] 01. 개요 및 웹 서버 설치
- [Server] 02. PHP 7 설치 및 웹 서버 연동
- [DataBase] 03. DB Server(MySQL 8.x) 설치
- [Framework] 04. CodeIgniter 3.x 설치 및 index.php 안보이게 하기
- [Stylesheet] 05. Bootstrap 5 설치
- [Stylesheet] 06. Bootstrap 5 example template 적용하기
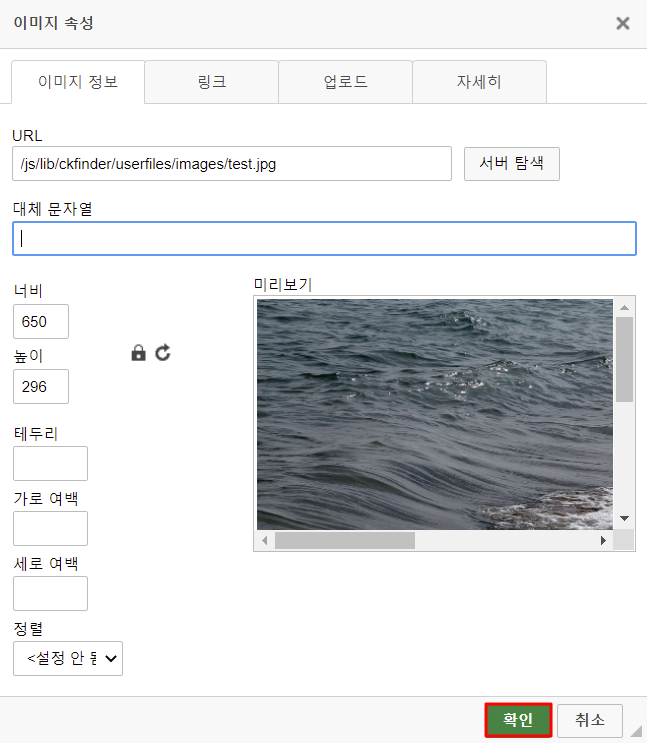
- [Library] 07. 온라인 html 편집툴(CKEditor 4) 설치 및 초기화
- [Library] 08. 파일 관리툴 CKFinder 설치 및 초기화
- [DataBase] 09. 블로그 DB 생성 및 HeidiSQL 설치
- [Posting] 10. DB 연결 및 뷰 파일 분할
- [Posting] 11. 포스트 저장 기능 구현
- [Posting] 12. 포스트 목록 뷰 생성 및 pagination 기능 구현
- [Posting] 13. 포스트 편집 기능 구현